Aroma Brown Rice Cooker Instructions: A Comprehensive Guide
Welcome! This guide details using your Aroma cooker for perfectly cooked brown rice. Explore settings‚ ratios‚ and troubleshooting for optimal results‚ ensuring a delightful experience.
Understanding Your Aroma Rice Cooker
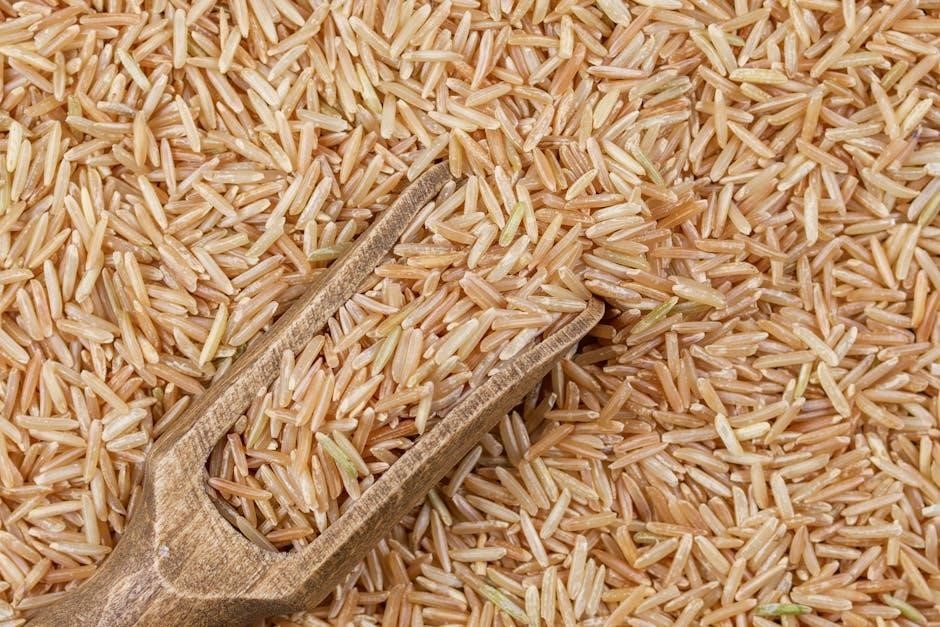
Your Aroma rice cooker is designed for simplicity and convenience‚ especially when cooking nutritious brown rice. The “Brown Rice” function is specifically calibrated to provide the extended cooking time and adjusted heat necessary for properly softening the grain and achieving a fluffy texture. Unlike white rice‚ brown rice retains its bran layer‚ requiring more moisture and a longer cooking process.
Familiarize yourself with the cooker’s features; different models may have varying functionalities‚ but the core principles remain consistent. The cooker automatically switches to a “Warm” setting once cooking is complete‚ preventing overcooking and keeping your rice at an ideal serving temperature. Understanding this feature is crucial for consistently perfect results.

Before first use‚ it’s recommended to read the complete user manual included with your Aroma cooker. This will provide detailed information specific to your model‚ including safety precautions and cleaning instructions. Proper understanding of your cooker’s capabilities will unlock its full potential and ensure years of reliable performance.
Key Components and Functions
Essential components of your Aroma rice cooker include the outer housing‚ removable inner pot (often non-stick)‚ steam vent‚ and control panel. The inner pot is where the magic happens – rice and water combine to create a delicious meal. The steam vent releases excess steam during cooking‚ preventing pressure buildup.
The control panel typically features power buttons‚ function selectors (like “White Rice” and “Brown Rice”)‚ and indicator lights. The “Brown Rice” setting is vital; it automatically adjusts cooking time and temperature for optimal brown rice texture. Some models include delay timers and keep-warm functions for added convenience.
Understanding the indicator lights is key. A “Cook” light illuminates during the cooking cycle‚ while a “Warm” light signals completion and automatic warming. Familiarize yourself with these indicators to monitor the cooking process effectively. Regularly check the user manual for specific details about your model’s functions and features.
Initial Setup and Preparation
Before your first use‚ thoroughly wash the inner pot‚ steam vent‚ and any included accessories with warm‚ soapy water. Rinse everything completely and dry it well. Wipe down the outer housing with a damp cloth – avoid immersing the cooker base in water.
Familiarize yourself with the cooker’s power cord and ensure a stable‚ heat-resistant surface for operation. It’s crucial to understand the placement of the steam vent to avoid obstructions during cooking. A clear space around the vent allows steam to escape efficiently.
Consider a “test run” with water to familiarize yourself with the cooking cycle and ensure everything functions correctly. This initial setup helps remove any manufacturing residue and prepares the cooker for delicious rice. Refer to your user manual for specific cleaning and safety instructions related to your Aroma model.
Cooking Brown Rice: The Basics
Mastering brown rice requires the correct water ratio‚ optional soaking‚ and understanding the benefits of rinsing to remove excess starch for fluffy results.
Rice to Water Ratio for Brown Rice
Achieving perfectly cooked brown rice hinges on the correct rice-to-water ratio within your Aroma cooker. While variations exist based on rice type and personal preference‚ a general guideline proves consistently reliable. For most brown rice varieties‚ a ratio of 1 cup of brown rice to 1.5 cups of water is recommended as a starting point.
However‚ adjustments may be necessary. Some users find success with a 1:1.75 ratio‚ particularly with older rice or if aiming for a slightly softer texture. Conversely‚ if your rice consistently emerges too mushy‚ reduce the water to 1.25 cups per cup of rice.
The Aroma cooker’s “Brown Rice” function is specifically calibrated to accommodate the longer cooking time and increased water absorption characteristic of brown rice. Experimenting within this range allows you to fine-tune the ratio to your liking‚ ensuring consistently delicious results. Remember to use the measuring cup provided with your Aroma cooker for accurate measurements.
Rinsing Brown Rice: Why and How
Rinsing brown rice before cooking is a crucial step often recommended‚ though not strictly mandatory. The primary benefit lies in removing excess surface starch. This starch‚ if left unrinsed‚ can contribute to a stickier‚ potentially mushy texture during cooking within your Aroma rice cooker. Removing it promotes fluffier‚ more distinct grains.
To rinse effectively‚ place the measured brown rice into a fine-mesh sieve. Hold the sieve under cold running water‚ gently swirling the rice with your hand. Continue rinsing until the water runs relatively clear – typically 3-5 minutes.
Avoid vigorous rubbing‚ as this can damage the grains. While rinsing is beneficial‚ some argue it also removes nutrients. However‚ the textural improvement generally outweighs this concern; If you prefer not to rinse‚ you can still achieve good results‚ but be mindful of potentially adjusting the water ratio slightly downwards.
Soaking Brown Rice: Optional but Beneficial
Soaking brown rice before cooking in your Aroma cooker is an optional‚ yet highly beneficial‚ practice. While not essential‚ it significantly impacts the final texture and cooking time. Soaking initiates the cooking process‚ allowing the grains to absorb water and soften‚ resulting in a more even and tender outcome.
To soak‚ combine the measured brown rice with water in a bowl – use roughly the same amount of water you’d use for cooking. Allow it to soak for at least 30 minutes‚ but ideally 2-4 hours‚ or even overnight in the refrigerator. Drain and rinse the soaked rice thoroughly before adding it to the cooker.
Soaking can reduce cooking time‚ potentially by 10-15 minutes. It also improves digestibility and nutrient absorption. If you’re short on time‚ skipping the soak is fine‚ but consider slightly increasing the water ratio for optimal results.
Step-by-Step Cooking Instructions
Let’s begin! Power on your Aroma cooker‚ select the ‘Brown Rice’ setting‚ add rinsed rice and water‚ and initiate the cooking cycle for perfect results.

Powering On and Selecting the Brown Rice Setting
Initiating the cooking process is simple. First‚ ensure the inner pot is securely placed inside the rice cooker. Then‚ press the power button – typically marked with a circle (○) – to activate the appliance. The display panel will illuminate‚ indicating the cooker is ready for operation.
Next‚ you’ll need to select the appropriate setting for brown rice. Locate the ‘Brown Rice’ button on your Aroma cooker. Pressing this button activates a pre-programmed cycle specifically designed for brown rice‚ providing extended cooking time and adjusted heat to ensure proper texture and doneness.
Some models may have multiple brown rice settings (e.g.‚ for different types of brown rice); Refer to your cooker’s manual to determine the most suitable option. Once the ‘Brown Rice’ setting is selected‚ the corresponding indicator light will illuminate‚ confirming your choice. The cooker is now prepared to receive the rice and water‚ ready to begin the cooking cycle.
Adding Rice and Water
Precise measurements are key to fluffy brown rice. Begin by adding the desired amount of brown rice directly into the inner pot. A common starting point is one cup of rice‚ but adjust based on your needs. Following this‚ carefully pour in the appropriate amount of water. For brown rice‚ a ratio of 1 cup of rice to 1.5 cups of water is generally recommended‚ though this can vary slightly.
Ensure you are using accurate measuring cups for both the rice and water to maintain consistency. After adding the water‚ gently level the surface with a spoon. Avoid overfilling the pot‚ as this can cause overflow during cooking. It’s crucial to adhere to the recommended water level for optimal results; too little water will result in hard‚ crunchy rice‚ while too much will lead to a mushy texture.
Double-check your measurements before proceeding to the next step.
Starting the Cooking Cycle
Initiating the cooking process is straightforward. Once the rice and water are correctly measured and added to the inner pot‚ securely place the pot back into the rice cooker. Ensure it sits flush against the heating plate for efficient heat transfer. Now‚ locate the power button – typically marked with a power symbol – and press it to turn on the cooker.

Next‚ select the appropriate cooking setting. For brown rice‚ specifically choose the “Brown Rice” function. This setting utilizes a longer cooking time and adjusted heat to properly cook the denser brown rice grains. The cooker will then automatically begin the cooking cycle‚ and the cooking indicator light will illuminate‚ signaling that the process has started.
Avoid lifting the lid during the cooking cycle‚ as this releases steam and can disrupt the cooking process. Allow the cooker to complete the cycle undisturbed for best results.
Post-Cooking Procedures
After cooking‚ allow the rice to steam and rest. Then‚ gently fluff it for an optimal‚ non-sticky texture‚ enhancing the overall dining experience and enjoyment.
Steaming and Resting the Rice
Allowing the rice to steam after the cooking cycle completes is a crucial‚ often overlooked‚ step for achieving optimal texture. The Aroma cooker automatically switches to a “Keep Warm” mode‚ which isn’t simply for maintaining temperature; it’s designed to continue the steaming process. This period‚ typically lasting around 10-15 minutes‚ allows the remaining moisture to distribute evenly throughout the grains.
During steaming‚ avoid lifting the lid frequently‚ as this releases valuable steam and disrupts the cooking process. Resist the urge to peek! The steam is essential for finishing the cooking and creating fluffy‚ separate grains. Think of it as a final‚ gentle cooking phase.
Resting the rice undisturbed is equally important. This allows the starches to fully gelatinize‚ resulting in a more tender and flavorful outcome. A proper steaming and resting period significantly improves the overall quality of your brown rice‚ transforming it from potentially hard or sticky to perfectly cooked and enjoyable.
Fluffing the Rice for Optimal Texture
After the steaming and resting period‚ gently fluffing the brown rice is the final touch for achieving a light and airy texture. Use a rice paddle or fork – avoid metal utensils‚ as they can damage the non-stick coating of your Aroma cooker’s inner pot. Insert the utensil into the rice and gently separate the grains‚ turning them over to release any remaining steam.
Fluffing prevents clumping and ensures each grain is distinct. This process doesn’t require vigorous stirring; a gentle‚ lifting motion is sufficient. The goal is to break up any slight stickiness without mashing the rice.
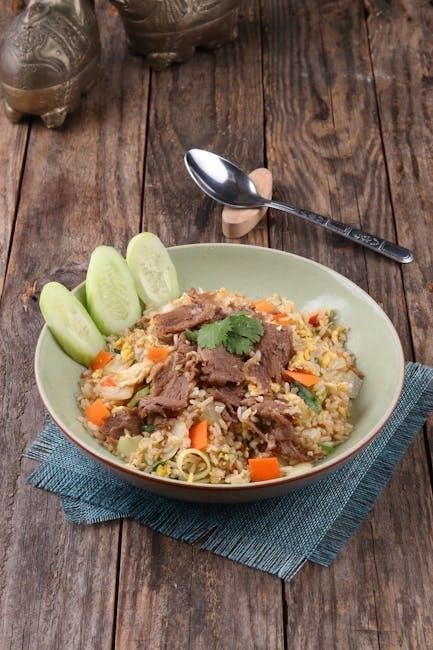
Proper fluffing enhances the overall eating experience‚ transforming the rice from a potentially dense mass into a delightful side dish. It’s a simple step that makes a significant difference in texture and presentation. Enjoy your perfectly cooked‚ fluffy brown rice!

Troubleshooting Common Issues
Encountering problems? This section addresses hard/crunchy rice‚ mushy results‚ and cooker startup failures. Find solutions for consistently perfect brown rice every time!
Rice is Too Hard or Crunchy
Addressing Under-cooked Rice: If your brown rice emerges from the Aroma cooker still hard or crunchy‚ several factors might be at play. The most common culprit is an insufficient water-to-rice ratio. Brown rice requires significantly more water than white rice to fully soften during the cooking process. Ensure you are adhering to the recommended 1 cup of rice to 1.5 cups of water ratio‚ or even slightly increasing the water if needed.
Another potential issue is inadequate cooking time. While the “Brown Rice” setting extends the cooking duration‚ some cookers or rice varieties may benefit from a longer cycle. Consider allowing the rice to steam and rest for an additional 10-15 minutes after the cooking cycle completes‚ with the cooker turned off. This allows the residual heat to continue softening the grains.
Finally‚ ensure you’ve thoroughly rinsed the rice before cooking to remove excess starch‚ which can sometimes contribute to a firmer texture. If the problem persists‚ try soaking the brown rice for 30 minutes prior to cooking; this pre-hydration can aid in achieving a softer‚ more palatable result.
Rice is Mushy or Overcooked
Dealing with Overly Soft Rice: If your brown rice turns out mushy or overcooked in your Aroma cooker‚ the likely cause is an excess of water. Carefully measure the rice and water‚ strictly adhering to the recommended 1 cup rice to 1.5 cups water ratio. Reducing the water quantity slightly – perhaps to 1.25 cups for 1 cup of rice – can help achieve a firmer texture.
Another factor could be insufficient rinsing. Thoroughly rinsing the brown rice before cooking removes excess starch‚ which contributes to a stickier‚ mushier consistency. Ensure you rinse until the water runs relatively clear.
Avoid opening the lid during the cooking cycle‚ as this releases steam and disrupts the cooking process. If your cooker has a “quick cook” or similar function‚ avoid using it for brown rice‚ as it may not provide sufficient cooking time for proper texture. Finally‚ remember that different varieties of brown rice may require slight adjustments to the water ratio; experimentation may be needed.
Cooker Not Turning On
Troubleshooting a Non-Responsive Cooker: If your Aroma rice cooker fails to power on‚ begin with the basics. First‚ verify the power cord is securely plugged into both the cooker and a functioning electrical outlet. Test the outlet with another appliance to confirm it’s providing power.
Next‚ inspect the power cord itself for any visible damage‚ such as cuts or fraying. A damaged cord poses a safety hazard and should be replaced. Ensure the cooker’s inner pot is correctly positioned within the cooker base; some models have safety mechanisms preventing operation if the pot isn’t properly seated.
Check the cooker’s lid to ensure it’s securely closed. Many Aroma cookers won’t operate unless the lid is fully locked. If these steps don’t resolve the issue‚ consult the user manual for specific troubleshooting guidance or contact Aroma customer support for assistance.