Crafting a delightful, wholly gluten-free pie crust requires understanding unique techniques and ingredient choices, ensuring a flaky, flavorful base for your favorite fillings.
Why Gluten-Free Pie Crust is Different
Traditional pie crusts rely heavily on gluten, a protein in wheat, for structure and elasticity. Gluten creates a network that traps air, resulting in flaky layers. Gluten-free baking, however, lacks this crucial component, presenting unique challenges.
Gluten-free flours behave differently; they absorb liquids unevenly and don’t bind as effectively. This often leads to crumbly or tough crusts. Successful gluten-free pie crusts require careful ingredient selection – often blends – and techniques to mimic gluten’s properties.
Xanthan gum frequently plays a vital role, acting as a binder. Mastering fat incorporation and chilling the dough are also paramount for achieving a tender, flaky texture without gluten’s assistance.
Understanding Gluten’s Role in Traditional Crust
In conventional pie crusts, gluten is the star, developing when wheat flour is mixed with liquid. This protein network provides elasticity, allowing the dough to stretch without tearing, and creates the signature flaky layers during baking. Gluten traps steam, separating the dough into those desirable, delicate sheets.
The development of gluten is controlled by kneading; more kneading equals stronger gluten. However, overworking the dough can lead to a tough crust. Fat, like butter or shortening, interferes with gluten development, contributing to tenderness.
Without gluten, replicating this structure requires alternative strategies, focusing on binding agents and careful fat distribution to achieve a similar, yet distinctly gluten-free, result.
Essential Ingredients for Gluten-Free Pie Crust
Success hinges on a carefully selected blend of gluten-free flours, fats (butter or shortening), cold liquids, and often, a binding agent like xanthan gum.
Gluten-Free Flour Blends
Choosing the right gluten-free flour blend is paramount for achieving a tender, flaky pie crust. Many pre-made blends are available, each with a unique composition impacting the final texture. Bob’s 1:1 Gluten-Free Baking Flour is a popular choice, designed as a direct substitute for wheat flour in many recipes, simplifying the baking process.
However, it’s crucial to verify if your chosen blend already contains xanthan gum. Xanthan gum acts as a binder, mimicking gluten’s elasticity and preventing a crumbly crust. If your blend lacks it, incorporating approximately one teaspoon per cup of flour is essential for structural integrity. Experimenting with different blends can yield varied results, so finding one that suits your preferences is key to gluten-free pie perfection.
Bob’s 1:1 Gluten-Free Baking Flour
Bob’s 1:1 Gluten-Free Baking Flour is a widely recommended option for gluten-free pie crusts due to its convenient 1:1 substitution ratio with wheat flour. This eliminates the need for complex conversions, making it ideal for both novice and experienced bakers. The blend typically contains a mix of rice flour, potato starch, tapioca flour, and xanthan gum, providing a balanced texture.
When utilizing Bob’s 1:1, it’s still beneficial to handle the dough gently, as gluten-free flours can be more delicate. The pre-mixed xanthan gum contributes to binding, but chilling the dough thoroughly remains crucial for preventing excessive spreading during baking. Many successful bakers have tested and confirmed its reliability, making it a trusted choice for consistently flaky results.
Importance of Xanthan Gum
Xanthan gum is a vital ingredient in gluten-free pie crusts, acting as a crucial binder and stabilizer in the absence of gluten’s elastic properties. Gluten provides structure; xanthan gum mimics this by creating a similar texture, preventing the crust from becoming overly crumbly and falling apart. It helps the dough hold together during rolling and baking, ensuring a cohesive final product.
If your chosen gluten-free flour blend doesn’t contain xanthan gum, adding approximately ¾ to 1 teaspoon per cup of flour is generally recommended. Precise amounts may vary depending on the blend, so experimentation is key. Without sufficient xanthan gum, the crust will likely be fragile and difficult to work with, resulting in a less-than-satisfactory pie experience.
Fats: Butter vs. Shortening
The choice between butter and shortening significantly impacts your gluten-free pie crust’s texture and flavor. Butter contributes a rich, desirable flavor, but its higher water content can lead to a slightly less tender crust. Shortening, conversely, yields a remarkably tender and flaky result due to its 100% fat content, minimizing gluten development (which isn’t a concern here, but still affects texture).
Many bakers debate the ideal approach. Using solely butter creates a flavorful crust, while shortening prioritizes tenderness. A blend of both offers a compromise – the flavor of butter combined with the flakiness of shortening. Since pie crust relies on a generous amount of fat for both flavor and texture, it’s the most important ingredient!
All-Butter Gluten-Free Pie Crust
Creating an all-butter gluten-free pie crust delivers exceptional flavor, though it demands careful technique. Begin with very cold butter – even freezing it briefly helps. Cut the butter into the flour blend using a pastry blender or your fingertips, aiming for pea-sized pieces. This creates pockets of fat that, when melted during baking, result in a flaky texture.
Work quickly to prevent the butter from warming. The key is maintaining cold temperatures throughout the process. Don’t overwork the dough; just bring it together until it forms a cohesive mass. Chilling is crucial, allowing the butter to firm up and the flavors to meld, resulting in the flakiest all-butter gluten-free pie crust from scratch.
Using Shortening for Tenderness
Employing shortening in your gluten-free pie crust yields a remarkably tender result, as it has a higher fat content and lower water content than butter. This inhibits gluten development (though irrelevant here, it still impacts texture) and creates a more delicate crumb. Combine shortening with your gluten-free flour blend, again cutting it in until pea-sized pieces form.
Shortening doesn’t contribute flavor like butter, so many bakers opt for a blend of both – utilizing butter for taste and shortening for tenderness. Remember to keep all ingredients cold. While an all-shortening crust is possible, a 50/50 blend often provides the best balance of flavor and texture in a wholly gluten-free pie crust.
Cold Liquids: Water & Alternatives
The temperature of your liquid is crucial for a flaky gluten-free pie crust. Ice water is the standard, preventing the fat from melting prematurely. Add the liquid gradually, mixing until the dough just comes together – avoid overworking it. Alternatives to water include ice-cold vodka (the alcohol evaporates during baking, inhibiting gluten – again, not a concern, but aids tenderness) or even buttermilk for a slightly tangy flavor.
Using very cold liquids ensures the fat remains in small, solid pieces, creating those desirable flaky layers. If your kitchen is warm, consider chilling the flour mixture and the liquid before combining. A tablespoon of apple cider vinegar can also be added to the water for extra tenderness.
Step-by-Step Instructions: Making the Dough
Begin by combining dry ingredients, then cut in cold fat. Gradually add ice water, mixing until the dough just forms. Chill thoroughly before rolling!
Combining Dry Ingredients
The foundation of a successful gluten-free pie crust begins with properly combining the dry ingredients. In a large bowl, whisk together your chosen gluten-free flour blend – Bob’s 1:1 is a popular choice – with a pinch of salt. Crucially, if your flour blend doesn’t already contain xanthan gum, you must add about a teaspoon to the mix.
Xanthan gum acts as a binder, mimicking gluten’s role in providing structure and elasticity. Whisk thoroughly to ensure the xanthan gum is evenly distributed throughout the flour. This step is vital; uneven distribution can lead to inconsistencies in the crust’s texture. A well-combined dry mixture sets the stage for a flaky and tender result, preventing a crumbly or tough final product.
Cutting in the Fat
Now, incorporate the cold fat – butter or shortening – into the dry ingredients. This is best achieved using a pastry blender, two knives, or even your fingertips (working quickly to keep the fat cold!). The goal isn’t to completely blend the fat in, but to create pea-sized pieces coated in flour. These pockets of fat are what create the flaky layers when baked.
If using butter, ensure it’s very cold, even frozen and grated. Shortening, being softer, is slightly easier to work with. Continue cutting until the mixture resembles coarse crumbs. Don’t overwork it! Overmixing develops the fat too much, resulting in a tough crust. Remember, fat is key for both flavor and texture in a gluten-free pie crust;
Adding the Liquid
Gradually add the ice-cold liquid – typically water, but alternatives like vodka can also be used – to the flour and fat mixture. Begin with a tablespoon at a time, mixing gently after each addition. The amount of liquid needed will vary depending on the flour blend and humidity. Mix just until the dough starts to come together; avoid overmixing at all costs.
The dough should be slightly shaggy and not fully cohesive. It’s better to err on the side of dryness than wetness. If the dough is too dry, add another teaspoon of liquid. Gluten-free doughs don’t behave like wheat-based doughs, so don’t expect a smooth, elastic texture. A crumbly, slightly uneven dough is perfectly acceptable.
Chilling the Dough
After the dough begins to come together, it’s crucial to chill it thoroughly; Flatten the dough into a disc (or two, if making a double-crust pie) about 1 inch thick. Wrap tightly in plastic wrap and refrigerate for at least 30 minutes, but preferably 2 hours, or even overnight. This chilling period allows the gluten-free flours to fully hydrate and the fats to solidify.
Chilling also relaxes the dough, making it easier to roll out later. A well-chilled dough is less likely to be sticky or crumbly. Don’t skip this step – it’s essential for a successful gluten-free pie crust! The colder the dough, the better it will handle.
Rolling and Shaping the Crust
Carefully roll out the chilled dough on a lightly floured surface, using gentle pressure to avoid cracking, and transfer it to your pie plate.
Preparing Your Work Surface
A well-prepared work surface is crucial for successful gluten-free pie crust rolling. Begin with a clean, smooth countertop – marble or granite are ideal, but a wooden surface works too. Lightly dust the surface with a gluten-free flour blend; rice flour is particularly effective as it prevents sticking.
Avoid using too much flour, as this can dry out the dough. Alternatively, you can place plastic wrap or parchment paper down first, then dust over that. This creates a non-stick barrier. Ensure your rolling pin is also lightly floured.
Chilling both the surface and the rolling pin briefly can also help maintain the dough’s cold temperature, which is vital for a flaky crust. Remember, gluten-free dough is more delicate than traditional dough, so a properly prepared surface is key to preventing tears and ensuring even rolling.
Rolling Techniques for Gluten-Free Dough
Rolling gluten-free pie dough differs significantly from traditional dough. Begin by gently pressing the chilled dough into a disc. Start rolling from the center outwards, applying even pressure. Avoid pressing too hard, as gluten-free dough tears easily. Rotate the dough frequently – about 45 degrees after each roll – to maintain a circular shape and prevent sticking.
If the dough becomes too warm or sticky, return it to the refrigerator for 5-10 minutes to firm up. Use a light touch and consistent pressure. Don’t worry about achieving a perfectly uniform thickness; slight variations are acceptable.
Aim for about 1/8 inch thickness. If cracks appear, gently patch them with a little extra dough. Remember patience is key!
Transferring to the Pie Plate
Carefully transferring the rolled gluten-free dough to the pie plate is crucial to avoid tearing. Gently roll the dough loosely around your rolling pin. Lift the pin and position it over the pie plate, allowing the dough to unroll gradually. Alternatively, fold the dough in half or quarters and carefully lift it into the plate.
Once in the plate, gently ease the dough into the corners and up the sides. Avoid stretching the dough, as this can cause it to shrink during baking. Trim any excess dough hanging over the edge, leaving about an inch. Crimp the edges decoratively or simply press them with a fork.
Baking the Gluten-Free Pie Crust
Achieving a perfectly baked gluten-free crust involves choosing between blind baking or pre-baking, and carefully controlling the baking temperature and duration.
Blind Baking vs. Pre-Baking
Understanding the difference between blind baking and pre-baking is crucial for gluten-free pie success. Blind baking involves baking the crust completely before adding the filling, typically weighted down with pie weights or dried beans to prevent puffing and shrinking; This is ideal for pies with no-bake fillings, like chocolate silk or creamy fruit pies.
Pre-baking, conversely, partially bakes the crust – usually for a shorter time and without weights – before the filling is added and baked alongside it. This method suits pies where the filling needs a longer baking time, ensuring the crust doesn’t become soggy. For gluten-free crusts, which can be more delicate, pre-baking often provides a sturdier base, preventing a soggy bottom. Consider your filling’s moisture content when deciding!
Baking Temperature and Time
Achieving a perfectly baked gluten-free pie crust hinges on precise temperature and timing. Generally, a temperature of 375°F (190°C) works well for both blind baking and baking with a filling. However, start checking for doneness around 20-25 minutes, as gluten-free crusts can brown faster than traditional ones.
For blind baking, bake for approximately 15-20 minutes weighted, then remove weights and bake for another 5-10 minutes until golden brown. When pre-baking, 12-15 minutes is often sufficient. Monitor closely! A fully baked crust should be golden brown and firm to the touch. Adjust baking time based on your oven and the specific flour blend used; some blends require slightly longer baking.
Troubleshooting Common Issues
Gluten-free pie crusts can present unique challenges; crumbly textures, toughness, or shrinkage are common. Understanding causes and solutions is key to success!
Crust is Too Crumbly
A crumbly gluten-free pie crust often indicates insufficient binding. This frequently stems from inadequate moisture or not enough xanthan gum, especially when using a gluten-free flour blend lacking it. Ensure precise measurements of liquid; adding a teaspoon of ice water at a time can help.
Overworking the dough also contributes to crumbliness, as it develops what little structure exists in gluten-free flours. Handle the dough gently and minimally. Furthermore, confirm your fat is sufficiently cold – warm butter or shortening won’t create the necessary pockets for flakiness.
Finally, consider the flour blend itself. Some blends are more prone to crumbling than others. If consistently facing this issue, experiment with different brands or consider adding a tablespoon of gluten-free oat flour for improved binding.
Crust is Tough
A tough gluten-free pie crust usually results from overworking the dough, developing any existing gluten-free flour proteins too much. Handle the dough as little as possible, aiming for just combined rather than smooth. Avoid excessive kneading or rolling.
Insufficient fat content can also lead to toughness. Gluten-free flours require a generous amount of fat for tenderness; ensure you’re using the correct proportions of butter or shortening. Cold fat is crucial – warm fat blends in too readily, hindering flakiness.
Over-hydration is another common culprit. Adding too much liquid creates a dense, chewy texture. Measure liquids carefully and add them gradually, stopping when the dough just comes together. Chilling the dough thoroughly allows the flour to hydrate properly, improving texture.
Crust Shrinks During Baking
Gluten-free pie crusts are prone to shrinking because they lack gluten’s elasticity. To minimize this, ensure the dough is thoroughly chilled before rolling and baking. This relaxes the flour and reduces initial tension.
Blind baking is highly recommended, especially for pre-baked shells. Weighing down the crust with pie weights or dried beans during blind baking prevents the sides from slumping and shrinking. Remove the weights during the last few minutes to allow the bottom to crisp up.
Avoid stretching the dough when transferring it to the pie plate; gently ease it in. Baking at a consistent temperature is also vital. A hot oven initially sets the crust, reducing shrinkage.
Gluten-Free Pie Recipes to Try
Explore endless possibilities! From classic fruit pies to savory quiches, your perfectly crafted gluten-free crust elevates every recipe with delightful texture and taste.
Fruit Pies
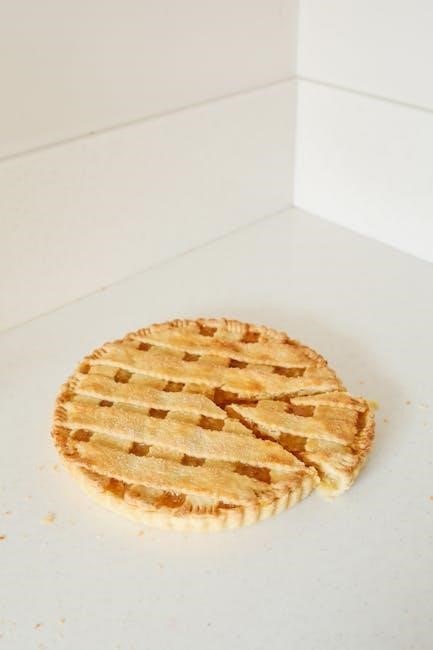
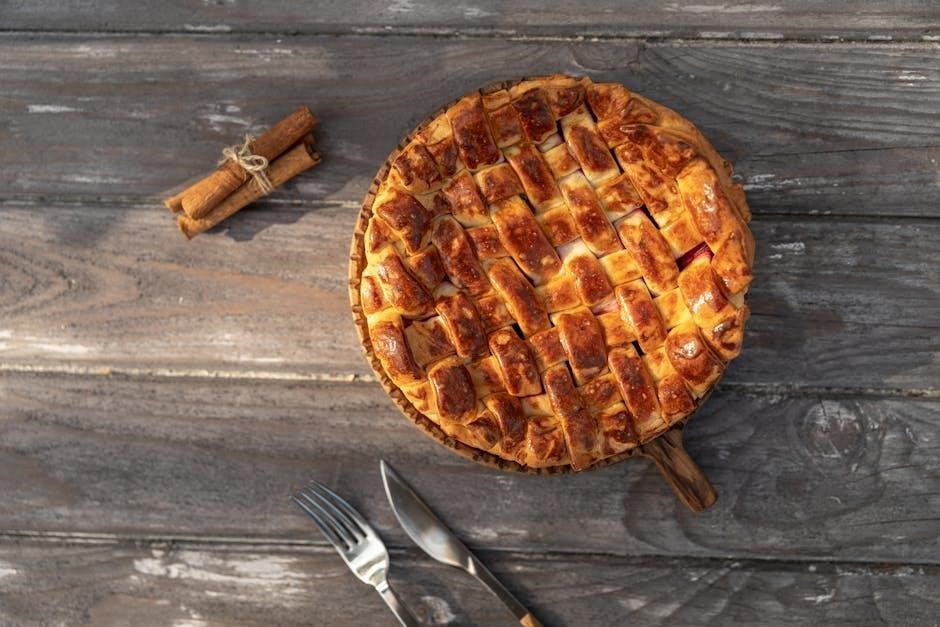
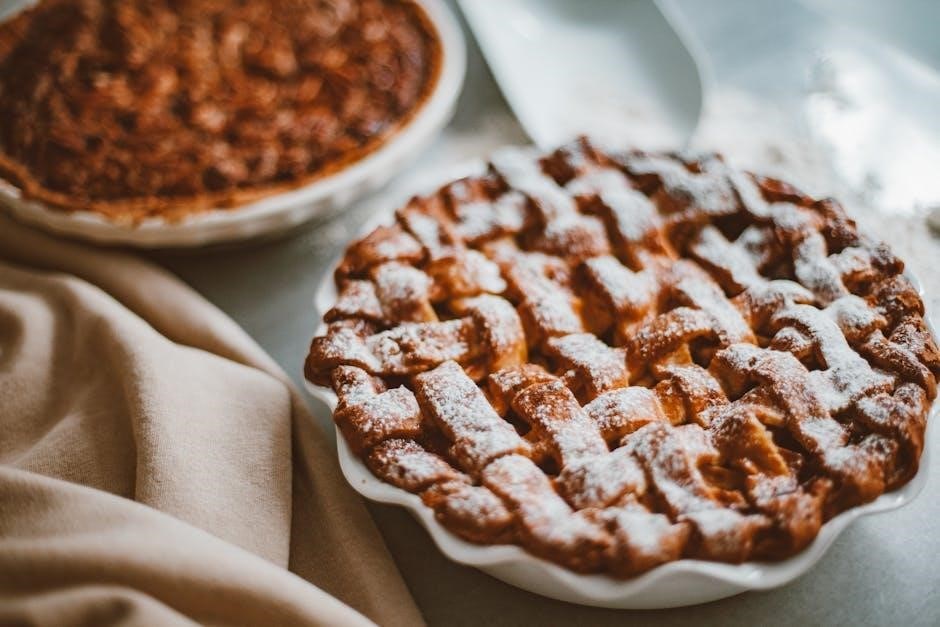
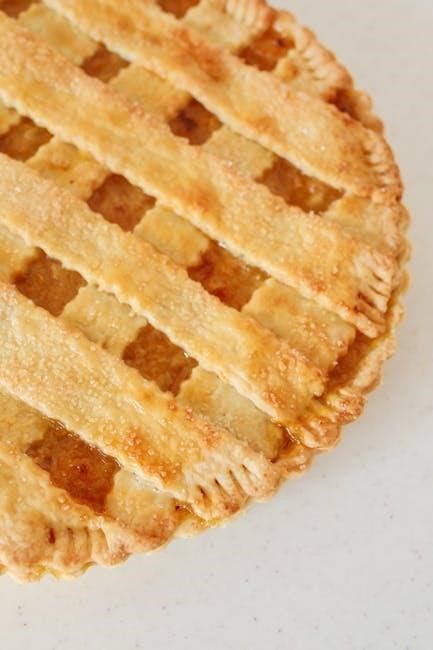
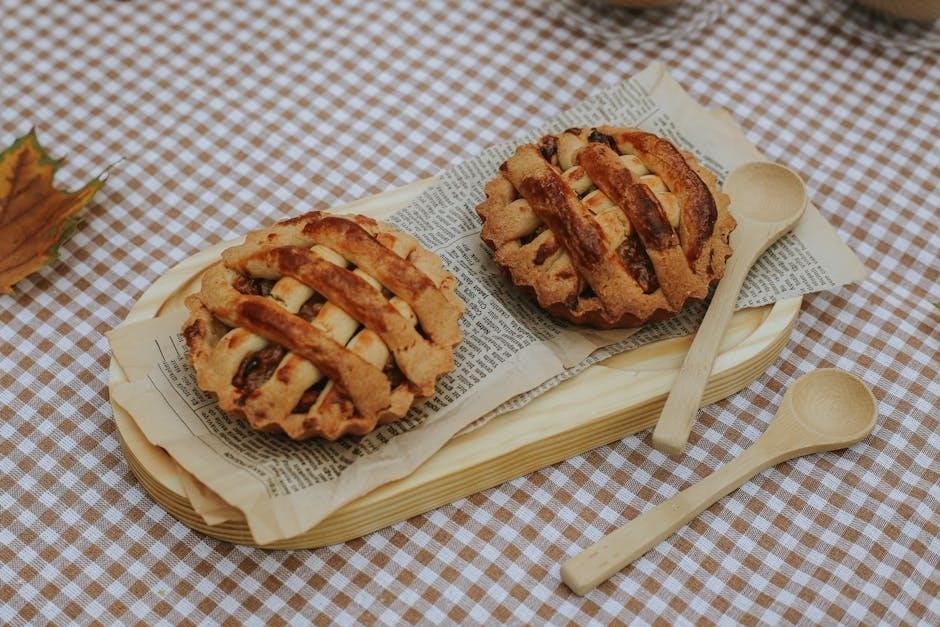
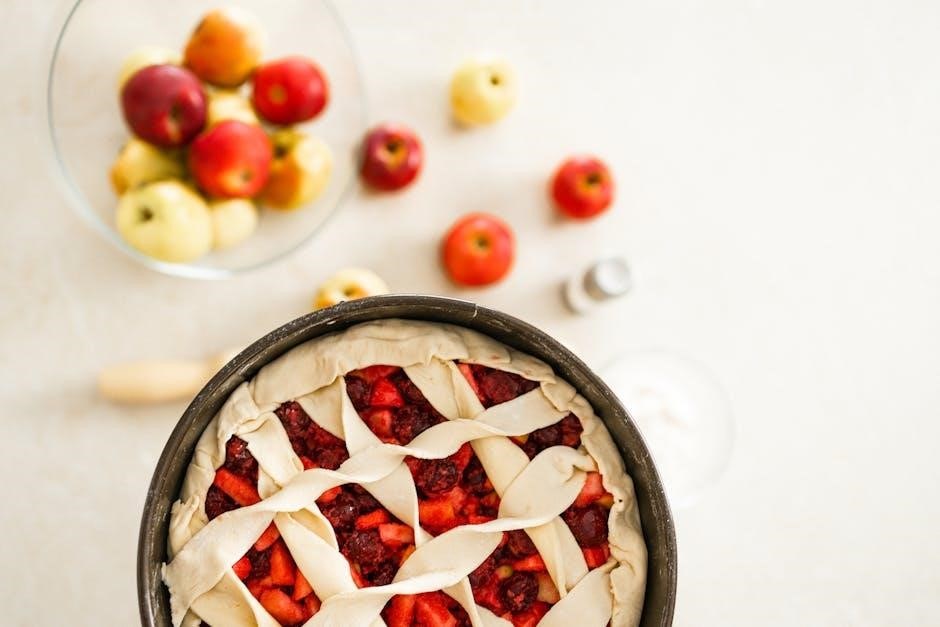
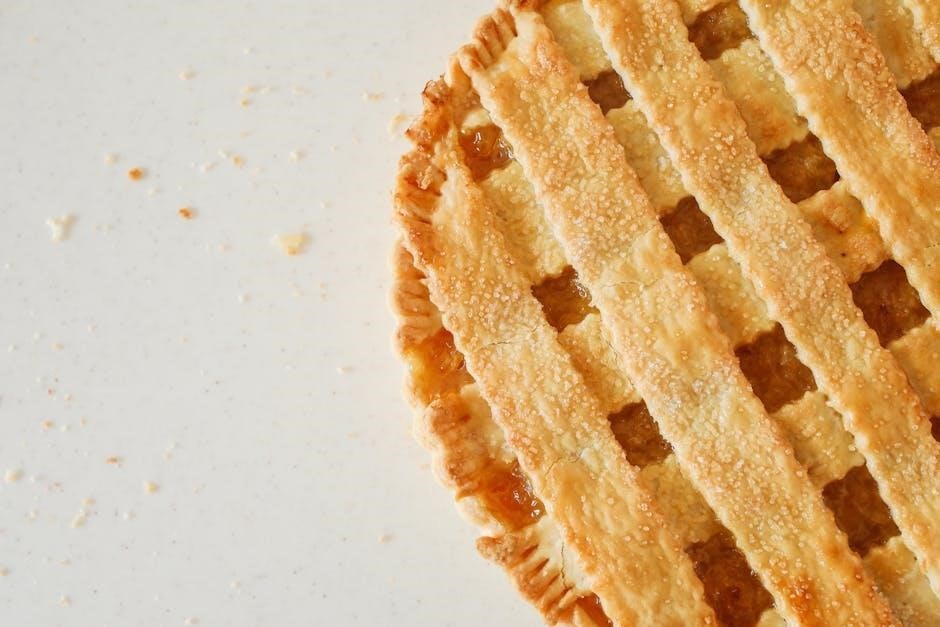
Gluten-free fruit pies truly shine with a well-made crust! Imagine a flaky, golden shell embracing a vibrant apple, cherry, or peach filling – absolutely irresistible. The key is utilizing your gluten-free crust recipe to complement the fruit’s natural sweetness. Consider a lattice top for visual appeal and enhanced texture.
Berries, with their delicate flavors, pair wonderfully with a buttery all-butter gluten-free crust. For heartier fruits like apples or pears, a blend incorporating shortening can provide extra tenderness. Don’t be afraid to experiment with spices like cinnamon, nutmeg, or cardamom to enhance the fruit’s profile. A sprinkle of coarse sugar on top before baking adds a delightful crunch. Remember to blind bake slightly for juicy fillings!
Savory Pies & Quiches
A gluten-free pie crust isn’t just for sweet treats; it’s a fantastic foundation for savory delights! Think comforting chicken pot pie, a sophisticated quiche Lorraine, or a rustic vegetable tart. The crust needs to be sturdy enough to hold richer, heavier fillings. Using a slightly higher proportion of shortening in your gluten-free blend can provide that extra structural support.
For quiches, a pre-baked (blind baked) crust is essential to prevent a soggy bottom. Season the crust itself with herbs like thyme or rosemary for an added layer of flavor. Savory pies benefit from a brushed egg wash before baking, creating a beautiful golden-brown finish. Don’t hesitate to get creative with your fillings – spinach and feta, mushroom and Gruyère, or roasted vegetables are all excellent choices!