Aprilaire Model 700 Installation Manual: A Comprehensive Plan
Welcome! This manual provides detailed instructions for installing your Aprilaire 700 humidifier, ensuring optimal performance and longevity. It unlocks the product’s potential with helpful tips.
The Aprilaire 700 represents a significant advancement in whole-house humidification technology. Designed to enhance indoor air quality and comfort, this model delivers precisely controlled humidity levels throughout your home, alleviating dry air symptoms like irritated skin, static electricity, and damage to wood furnishings.
This humidifier isn’t simply about adding moisture; it’s about intelligent humidity management. The Aprilaire 700 automatically adjusts to maintain your desired humidity setting, responding to changes in temperature and airflow. It’s a bypass humidifier, meaning it utilizes your furnace’s existing airflow to distribute moisture effectively.
This installation manual is crafted to guide both experienced DIY enthusiasts and those new to humidification systems through each step of the process. We’ll cover everything from unboxing and component verification to electrical wiring and final testing. Understanding the system’s components and following these instructions carefully will ensure a successful installation and years of reliable performance. Proper installation is key to unlocking the full benefits of your new Aprilaire 700.
Unboxing and Component Verification
Carefully unpack the Aprilaire 700 humidifier and all included components. Lay out all parts on a protected surface to prevent scratches or damage. Begin by verifying the contents against the parts list provided in the packaging. This list typically includes the humidifier unit itself, a mounting bracket, a water supply connector (saddle valve or direct connection fitting), a drain tube, and various screws and fasteners.
Inspect each component for any signs of shipping damage – cracks, dents, or missing parts. Pay close attention to the humidifier’s water panel; ensure it’s intact and free from defects. The solenoid valve, responsible for controlling water flow, should also be examined. Confirm the presence of the control panel and wiring harness.
If any parts are missing or damaged, do not proceed with the installation. Contact Aprilaire customer support immediately to request replacements. Keeping the original packaging can be helpful for returns or warranty claims. Accurate component verification now will save potential headaches later during the installation process.
Safety Precautions
Prior to installation, disconnect power to your furnace at the breaker box. This is crucial to prevent electrical shock. Water and electricity are a dangerous combination, so ensure the furnace is completely de-energized. Always wear appropriate safety glasses to protect your eyes from debris during installation, particularly when working with ductwork or mounting brackets.
When connecting the water supply, be mindful of water pressure. Excessive pressure can cause leaks or damage to the humidifier. If using a saddle valve, ensure it’s securely clamped onto the copper water pipe. Avoid over-tightening, which could puncture the pipe.
Exercise caution when handling tools. Use only properly insulated tools and follow manufacturer’s instructions. If you are uncomfortable with any aspect of the installation, consult a qualified HVAC technician. Improper installation can lead to equipment malfunction, water damage, or even pose a safety hazard. Always adhere to local building codes and regulations.
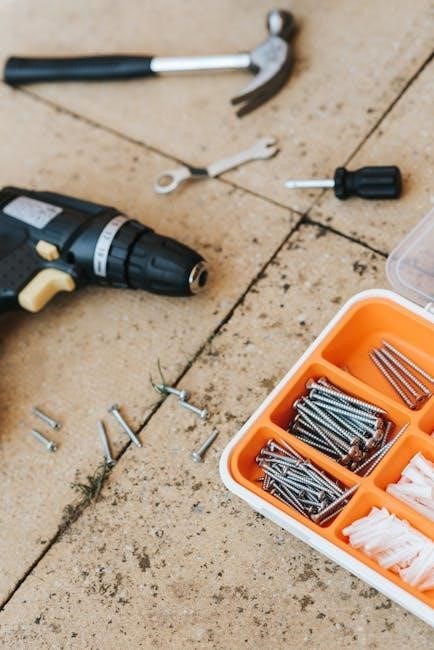
Tools Required for Installation
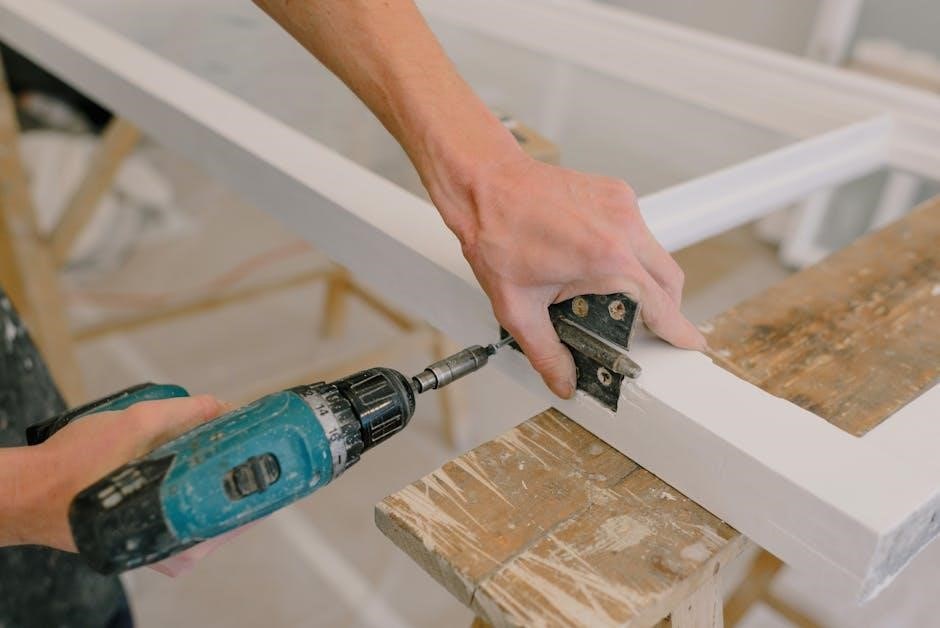
For a successful Aprilaire 700 installation, gather the following tools beforehand. You will need a Phillips head screwdriver for securing the mounting bracket and humidifier unit. A flathead screwdriver is useful for various adjustments and connections. A drill with appropriate drill bits is essential for creating pilot holes for the mounting bracket, ensuring a secure attachment to the furnace plenum.
A pipe cutter or adjustable wrench is necessary for installing the water supply line, whether utilizing a saddle valve or a direct connection. Teflon tape is crucial for sealing threaded water connections and preventing leaks. Wire strippers and a wire connector will be needed for safely connecting the humidifier’s wiring to the furnace control board.
Additionally, a level will ensure the humidifier is mounted correctly, promoting proper water flow and operation. Safety glasses are a must-have for eye protection. A bucket and towels are recommended to catch any water spillage during the water line connection and leak testing phases.
System Compatibility Check
Before beginning the Aprilaire 700 installation, verifying system compatibility is paramount. This humidifier is designed for use with forced-air heating and cooling systems. Confirm your furnace has a compatible control board capable of providing the necessary 24V power to operate the humidifier. Systems lacking this capability may require a separate power source or adapter.
Assess your ductwork to ensure adequate airflow for optimal humidification. Severely undersized or restricted ductwork can hinder the distribution of moisture throughout your home. The humidifier should be installed on the return air side of the furnace, allowing air to pass through the unit before reaching the heating element.
Crucially, check your existing water supply. A readily accessible cold water pipe with sufficient pressure is required. Avoid using hot water lines, as the heat can damage the humidifier. Finally, ensure your furnace’s electrical system can handle the additional load imposed by the humidifier.
Furnace Compatibility
The Aprilaire 700 requires a 24-volt furnace control system for seamless integration. Most modern furnaces are compatible, but older models may necessitate an adapter or professional modification. Verify your furnace control board possesses a spare 24V terminal available for humidifier connection – typically labeled ‘humidifier’ or ‘H’.
Gas, oil, and electric furnaces are generally suitable, provided they meet the voltage requirement. However, high-efficiency condensing furnaces require careful consideration. Ensure sufficient condensate drainage capacity exists, as the increased humidity can lead to greater condensate production.
Avoid installation on furnaces with continuously running blowers, as this can lead to over-humidification. The humidifier’s operation should be synchronized with the furnace’s heating cycle. Consult a qualified HVAC technician if you are unsure about your furnace’s compatibility or require assistance with electrical connections. Incorrect wiring can damage both the humidifier and your furnace.
Ductwork Considerations
Proper ductwork is crucial for effective humidity distribution. The Aprilaire 700 should be installed on the return air duct, ideally within 3-5 feet of the furnace. This placement allows for optimal mixing of humidified air with the heated airflow before distribution throughout your home.
Avoid installing the humidifier directly downstream of the furnace blower, as this can cause condensation within the unit. Ensure the return duct is adequately sized to handle the reduced airflow caused by the humidifier’s presence. Insufficient duct size can lead to reduced heating efficiency.
Consider duct insulation, particularly in unconditioned spaces, to prevent condensation and maintain consistent humidity levels. Inspect ductwork for leaks and seal them before installation to maximize efficiency. A professional HVAC technician can assess your ductwork and recommend necessary modifications for optimal performance with the Aprilaire 700.
Water Supply Line Requirements
The Aprilaire 700 requires a reliable cold water supply line, typically a ½-inch copper or PEX pipe. Water pressure should be between 20 and 120 PSI for optimal operation. Avoid using hot water lines, as this can damage the humidifier and create scaling issues.
Accessibility is key; the water supply line must be easily accessible for future maintenance and shut-off. Consider installing a shut-off valve near the humidifier for convenient water supply control. Local plumbing codes must be followed during installation to ensure compliance and safety.
Two connection options exist: a saddle valve or a direct connection. A saddle valve is easier to install but may be prone to leaks. A direct connection provides a more secure and reliable water supply. Thorough leak testing is essential after installation, regardless of the connection method used. Ensure the water line is protected from freezing temperatures.
Mounting the Humidifier
Proper mounting is crucial for stable operation and preventing vibrations. Begin by carefully selecting a suitable location – see the ‘Location Selection’ section for details. Ensure the chosen area can support the humidifier’s weight when filled with water. The mounting bracket, included in the kit, must be securely fastened to a solid surface, such as a furnace duct or wall stud.
Use appropriate screws and anchors for the mounting surface. Avoid using drywall screws alone, as they may not provide sufficient support. Level the bracket before fully tightening the screws to ensure the humidifier sits evenly. Once the bracket is secure, carefully lift the humidifier unit and attach it to the bracket, following the specific instructions provided with your model.
Double-check that the unit is firmly attached and cannot be easily dislodged. A secure mount minimizes noise and prevents potential damage to the humidifier or surrounding equipment.
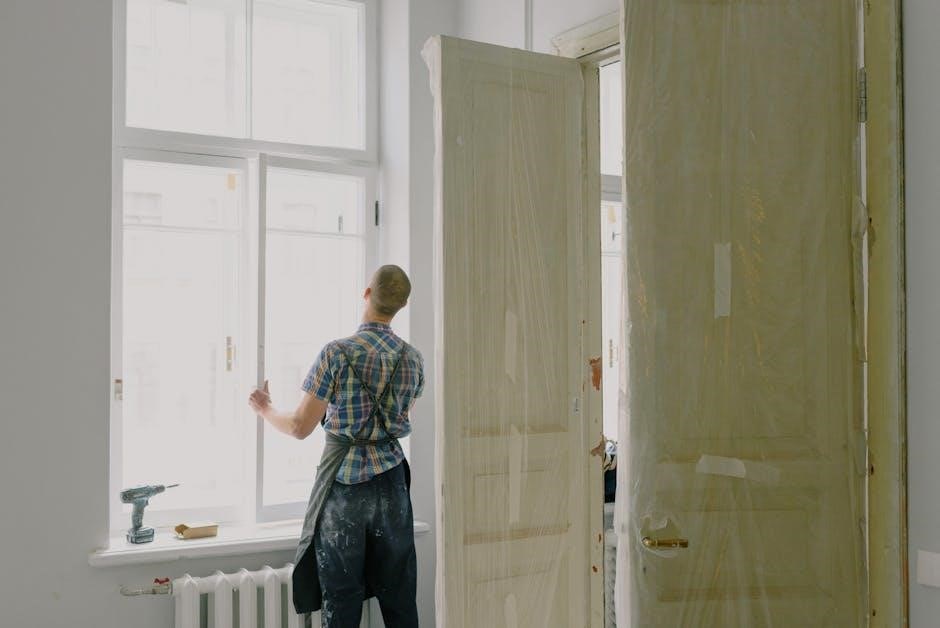
Location Selection
Choosing the right location for your Aprilaire 700 is paramount for efficient operation and ease of maintenance. Ideally, select a spot near your furnace and existing water supply lines to minimize plumbing and ductwork modifications. Ensure adequate space around the unit for servicing, including access to the water panel and electrical connections.
Avoid locations exposed to freezing temperatures, as this can damage the water supply line and humidifier components. A warm, dry area is preferred. Consider proximity to a floor drain for potential overflow situations, though the system is designed to prevent this. Accessibility is key; you’ll need to periodically check and maintain the humidifier, so choose a location that’s easy to reach.
Verify sufficient airflow around the unit to prevent condensation buildup. The location should also allow for proper ductwork connections without creating obstructions. Careful planning during location selection will simplify the installation process and ensure long-term performance.
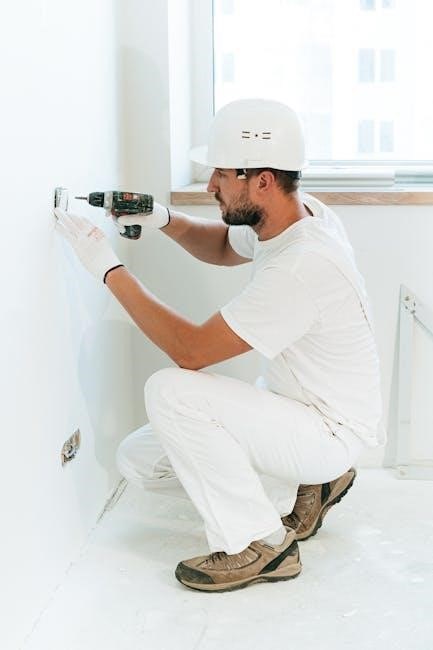
Mounting Bracket Installation
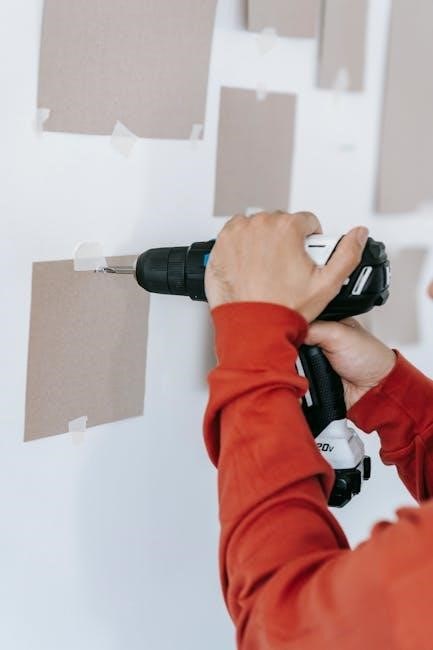
Securely mounting the Aprilaire 700 requires a robust bracket installation. Begin by identifying suitable mounting points on the furnace plenum or a nearby structural support. Use the provided screws, ensuring they are appropriate for the material you’re fastening into – wood screws for wood, self-tapping screws for metal.
Position the bracket level and aligned with the intended humidifier location, referencing the pre-drilled holes as a guide. Mark the screw locations with a pencil, then pre-drill pilot holes to prevent splitting or damaging the surface. Attach the bracket firmly, tightening the screws until snug, but avoid over-tightening which could strip the threads.
Double-check the bracket’s stability before proceeding. It must be able to support the weight of the humidifier when filled with water. A wobbly bracket indicates insufficient support and requires re-evaluation. Proper bracket installation is crucial for safe and reliable operation of the Aprilaire 700.
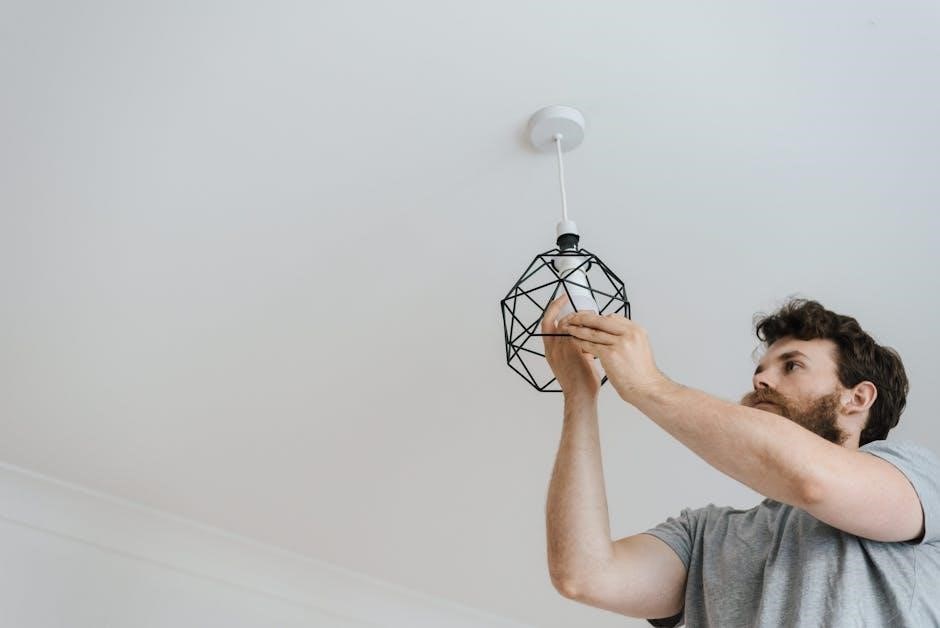
Humidifier Unit Attachment
Carefully lift the Aprilaire 700 humidifier unit and align it with the previously installed mounting bracket. Ensure the unit’s mounting tabs or slots engage securely with the bracket’s corresponding features. A proper fit should require minimal force; avoid forcing the unit into place.
Secure the humidifier to the bracket using the provided fasteners – typically screws or clips. Tighten these fasteners evenly, alternating between sides to distribute the pressure and prevent warping. Do not over-tighten, as this could damage the humidifier’s housing or the mounting bracket.
Verify the unit is firmly attached and doesn’t exhibit any wobble or play. Gently tug on the humidifier to confirm its stability. A secure attachment is vital to prevent accidental dislodgement during operation. Inspect all connections to ensure they are properly engaged before proceeding to the next installation step.
Water Supply Connection
Proceed with caution when connecting the water supply to your Aprilaire 700. This step is crucial for proper humidifier function. First, identify the chosen water connection method: saddle valve or direct connection to a copper pipe.
For saddle valves, securely clamp the valve onto the cold water pipe, ensuring the piercing mechanism penetrates the pipe wall cleanly. Tighten the clamp screws gradually and evenly. For direct connections, use a suitable T-fitting and compression connections to tap into the cold water line.
Attach the humidifier’s water inlet tubing to the chosen water supply connection. Use appropriate fittings and clamps to ensure a watertight seal. Avoid cross-threading during connection. Double-check all connections for tightness before proceeding to the leak testing phase. Proper installation prevents water damage and ensures efficient operation.
Water Line Installation
Begin by carefully measuring the distance between the humidifier unit and the chosen water source. Cut the flexible water tubing to the appropriate length, allowing for some slack to accommodate movement. Avoid sharp bends in the tubing, as these can restrict water flow and potentially cause leaks.
Connect one end of the tubing to the humidifier’s water inlet port, securing it with a clamp. Ensure the connection is tight and free of kinks. Route the tubing along a protected path, avoiding areas where it could be damaged or stepped on. Secure the tubing with clips or straps as needed.
Connect the other end to the saddle valve or T-fitting previously installed on the cold water supply line. Again, ensure a secure and leak-proof connection. Inspect the entire length of the water line for any signs of damage or potential weak points before proceeding to leak testing.
Saddle Valve vs. Direct Connection
Choosing between a saddle valve and a direct connection for your Aprilaire 700’s water supply is crucial. Saddle valves clamp onto the existing copper or PVC pipe, piercing it to provide a water tap. They are simpler to install, requiring no cutting of pipes, making them ideal for DIYers.
However, saddle valves can restrict water flow and are more prone to leaks over time due to the piercing method. A direct connection, achieved by cutting the water line and installing a T-fitting, offers a more reliable and unrestricted water supply.
Direct connections require more plumbing skill but provide superior performance and longevity. Consider your plumbing experience and long-term reliability needs when making your decision. If unsure, consulting a qualified plumber is highly recommended to ensure a secure and efficient water supply for your humidifier.
Leak Testing the Water Line
Thorough leak testing is paramount after establishing the water supply connection for your Aprilaire 700. Begin by slowly turning on the water supply valve, observing all connections – at the saddle valve or T-fitting, the tubing, and the humidifier inlet – for any signs of moisture.
Carefully inspect each joint and fitting, feeling for dampness. A small spray bottle of soapy water can aid in detection; bubbles will form where leaks exist. If a leak is detected, immediately shut off the water supply and tighten the connection or re-seat the tubing.
Repeat the process of slowly turning on the water and inspecting for leaks until completely dry. Allow the system to remain pressurized for at least 30 minutes, continuing to monitor for any delayed leaks. Proper leak testing prevents water damage and ensures optimal humidifier operation. Don’t skip this vital step!
Electrical Wiring
Proceed with caution when undertaking the electrical wiring for your Aprilaire 700. Always disconnect power to the furnace at the breaker box before commencing any electrical work. This is a critical safety precaution to prevent electrical shock.
Refer to the wiring diagram included with your Aprilaire 700 and the furnace’s documentation. Typically, the humidifier requires a connection to the furnace’s control board for both power and a humidistat signal. Identify the appropriate terminals on both units.
Use appropriately sized wiring and secure connections with wire nuts. Ensure all connections are tight and insulated. Double-check the wiring against the diagram before restoring power. Incorrect wiring can damage the humidifier or furnace. Verify the power supply voltage matches the humidifier’s requirements before proceeding.
Wiring Diagram Overview (Aprilaire 700)
The Aprilaire 700 wiring diagram illustrates the connections between the humidifier, the furnace control board, and the power source. Key components include the transformer (providing 24VAC power), the humidistat (sensing humidity levels), and the solenoid valve (controlling water flow).
Typically, a three-wire connection is required: common (C), 24VAC power (R), and the humidistat signal (W). The ‘W’ wire activates the solenoid valve when humidity is low. Carefully identify these wires on both the humidifier and the furnace control board.
The diagram also shows the grounding wire, essential for safety. Always connect the ground wire to the designated terminal. Incorrect wiring can lead to malfunction or damage. Refer to the diagram throughout the wiring process to ensure accurate connections. A clear understanding of this diagram is crucial for successful installation.
Connecting to Furnace Control Board
Before connecting, ensure the furnace power is completely OFF at the breaker; Locate the humidifier terminals on your furnace control board – typically labeled ‘C’, ‘R’, and ‘W’. These correspond to common, 24VAC power, and the humidistat signal, respectively.
Carefully connect the wires from the Aprilaire 700 to these terminals, matching the colors and labels. A secure connection is vital; use wire connectors or terminal blocks. Double-check all connections before proceeding. Incorrect wiring can damage both the humidifier and the furnace.
If your furnace lacks dedicated humidifier terminals, a compatible relay may be required. Consult a qualified HVAC technician for assistance in this case. Proper connection to the control board enables the furnace to signal the humidifier when to activate, maintaining desired humidity levels.
Power Supply Verification
Prior to full operation, verifying the power supply to the Aprilaire 700 is crucial for safe and effective functionality. With the furnace power restored at the breaker, use a multimeter to confirm 24VAC is present at the ‘R’ and ‘C’ terminals on the furnace control board where the humidifier is connected.
Ensure the multimeter is set to the appropriate AC voltage range. A reading close to 24VAC indicates a proper power supply. If no voltage is detected, re-check all wiring connections and the furnace’s power supply. A faulty furnace transformer could be the issue, requiring professional attention.
Additionally, inspect the humidifier’s transformer (if equipped) for correct input voltage. Confirm that the wiring to the humidifier unit itself is secure and undamaged. A stable and correct power supply is fundamental for the humidifier’s control panel and operation;
Control Panel Setup
Following successful wiring, the Aprilaire 700’s control panel requires careful setup to personalize your home’s humidity levels. Begin by powering on the humidifier; the digital display should illuminate. Navigate the menu using the up and down arrow buttons. The initial setup will likely prompt you to set the desired humidity percentage.
Consider your home’s construction and climate when selecting a target humidity. A range of 30-40% is generally recommended to balance comfort and prevent condensation. Explore the panel’s advanced settings for features like automatic humidity control, which adjusts based on outdoor temperature.
Familiarize yourself with the manual hold and vacation modes. These allow temporary overrides or sustained humidity settings during absences. Proper configuration ensures efficient operation and prevents unnecessary energy consumption. Refer to the detailed control panel guide within this manual for specific button functions and troubleshooting tips.
Setting Humidity Levels
Achieving optimal comfort with your Aprilaire 700 hinges on correctly setting humidity levels. Begin by understanding that ideal humidity varies based on your climate and home’s insulation. A starting point of 35% is often recommended, but adjustments may be necessary.
Utilize the control panel’s up and down arrows to precisely select your desired percentage. Observe your home’s response over several days. Signs of insufficient humidity include static electricity, dry skin, and cracked wood. Conversely, condensation on windows indicates excessive humidity.
The Aprilaire 700 allows for both manual and automatic humidity control. Automatic mode leverages outdoor temperature sensors to intelligently adjust humidity, preventing over-saturation during warmer periods. Experiment with different settings to find the sweet spot for your household, prioritizing both comfort and preventing potential moisture-related issues. Regularly monitor and fine-tune as seasons change.
Testing and Troubleshooting
Post-installation, thoroughly test your Aprilaire 700 to ensure proper functionality. Begin by verifying water flow to the humidifier – check for leaks at all connections. Observe the water panel for consistent saturation. Monitor humidity levels using a separate hygrometer to confirm the unit is impacting indoor air.
If the humidifier isn’t producing sufficient humidity, first check the water supply valve is fully open. Inspect the water panel for mineral buildup, which can restrict water flow. For electrical issues, verify the furnace control board is providing power to the unit.
Common problems include a frozen evaporative pad (indicating low airflow) or a malfunctioning solenoid valve. Consult the full troubleshooting guide within this manual for detailed solutions. If issues persist, contact a qualified HVAC technician. Regular maintenance, as outlined later, can prevent many of these problems.
Post-Installation Maintenance
Regular maintenance is crucial for maintaining the efficiency and lifespan of your Aprilaire 700. Annually, thoroughly clean the humidifier, including the water panel, base pan, and solenoid valve. Mineral buildup can significantly reduce performance, so consider using a descaling solution specifically designed for humidifiers.
Inspect the water line for leaks or damage, and replace it if necessary. Check the mounting bracket for stability and tighten any loose screws. Every six months, verify the proper operation of the control panel and adjust humidity settings as needed based on seasonal changes.
Filter replacement (if applicable to your system) should follow the manufacturer’s recommendations. Proper cleaning prevents mold and bacteria growth. Refer to the detailed maintenance schedule within this manual for a comprehensive checklist. Consistent upkeep ensures optimal air quality and prevents costly repairs.